It's old news that Instagram is super important for brands, businesses, and marketers to promote any product or service.
Aside from the usual user stats, over 130 million Instagrammers view Instagram shops monthly. Talk about enough traffic.
Setting up your shop on the platform promises a huge opportunity to sell your products. Rather than directing customers to your site or other avenues, Instagram shopping allows users to select and buy those products easily from the app.
-
What exactly is Instagram shopping?
-
How can you set up an Instagram shop?
These are questions that will be discussed in this blog post. Moving on…
Instagram Shopping 101

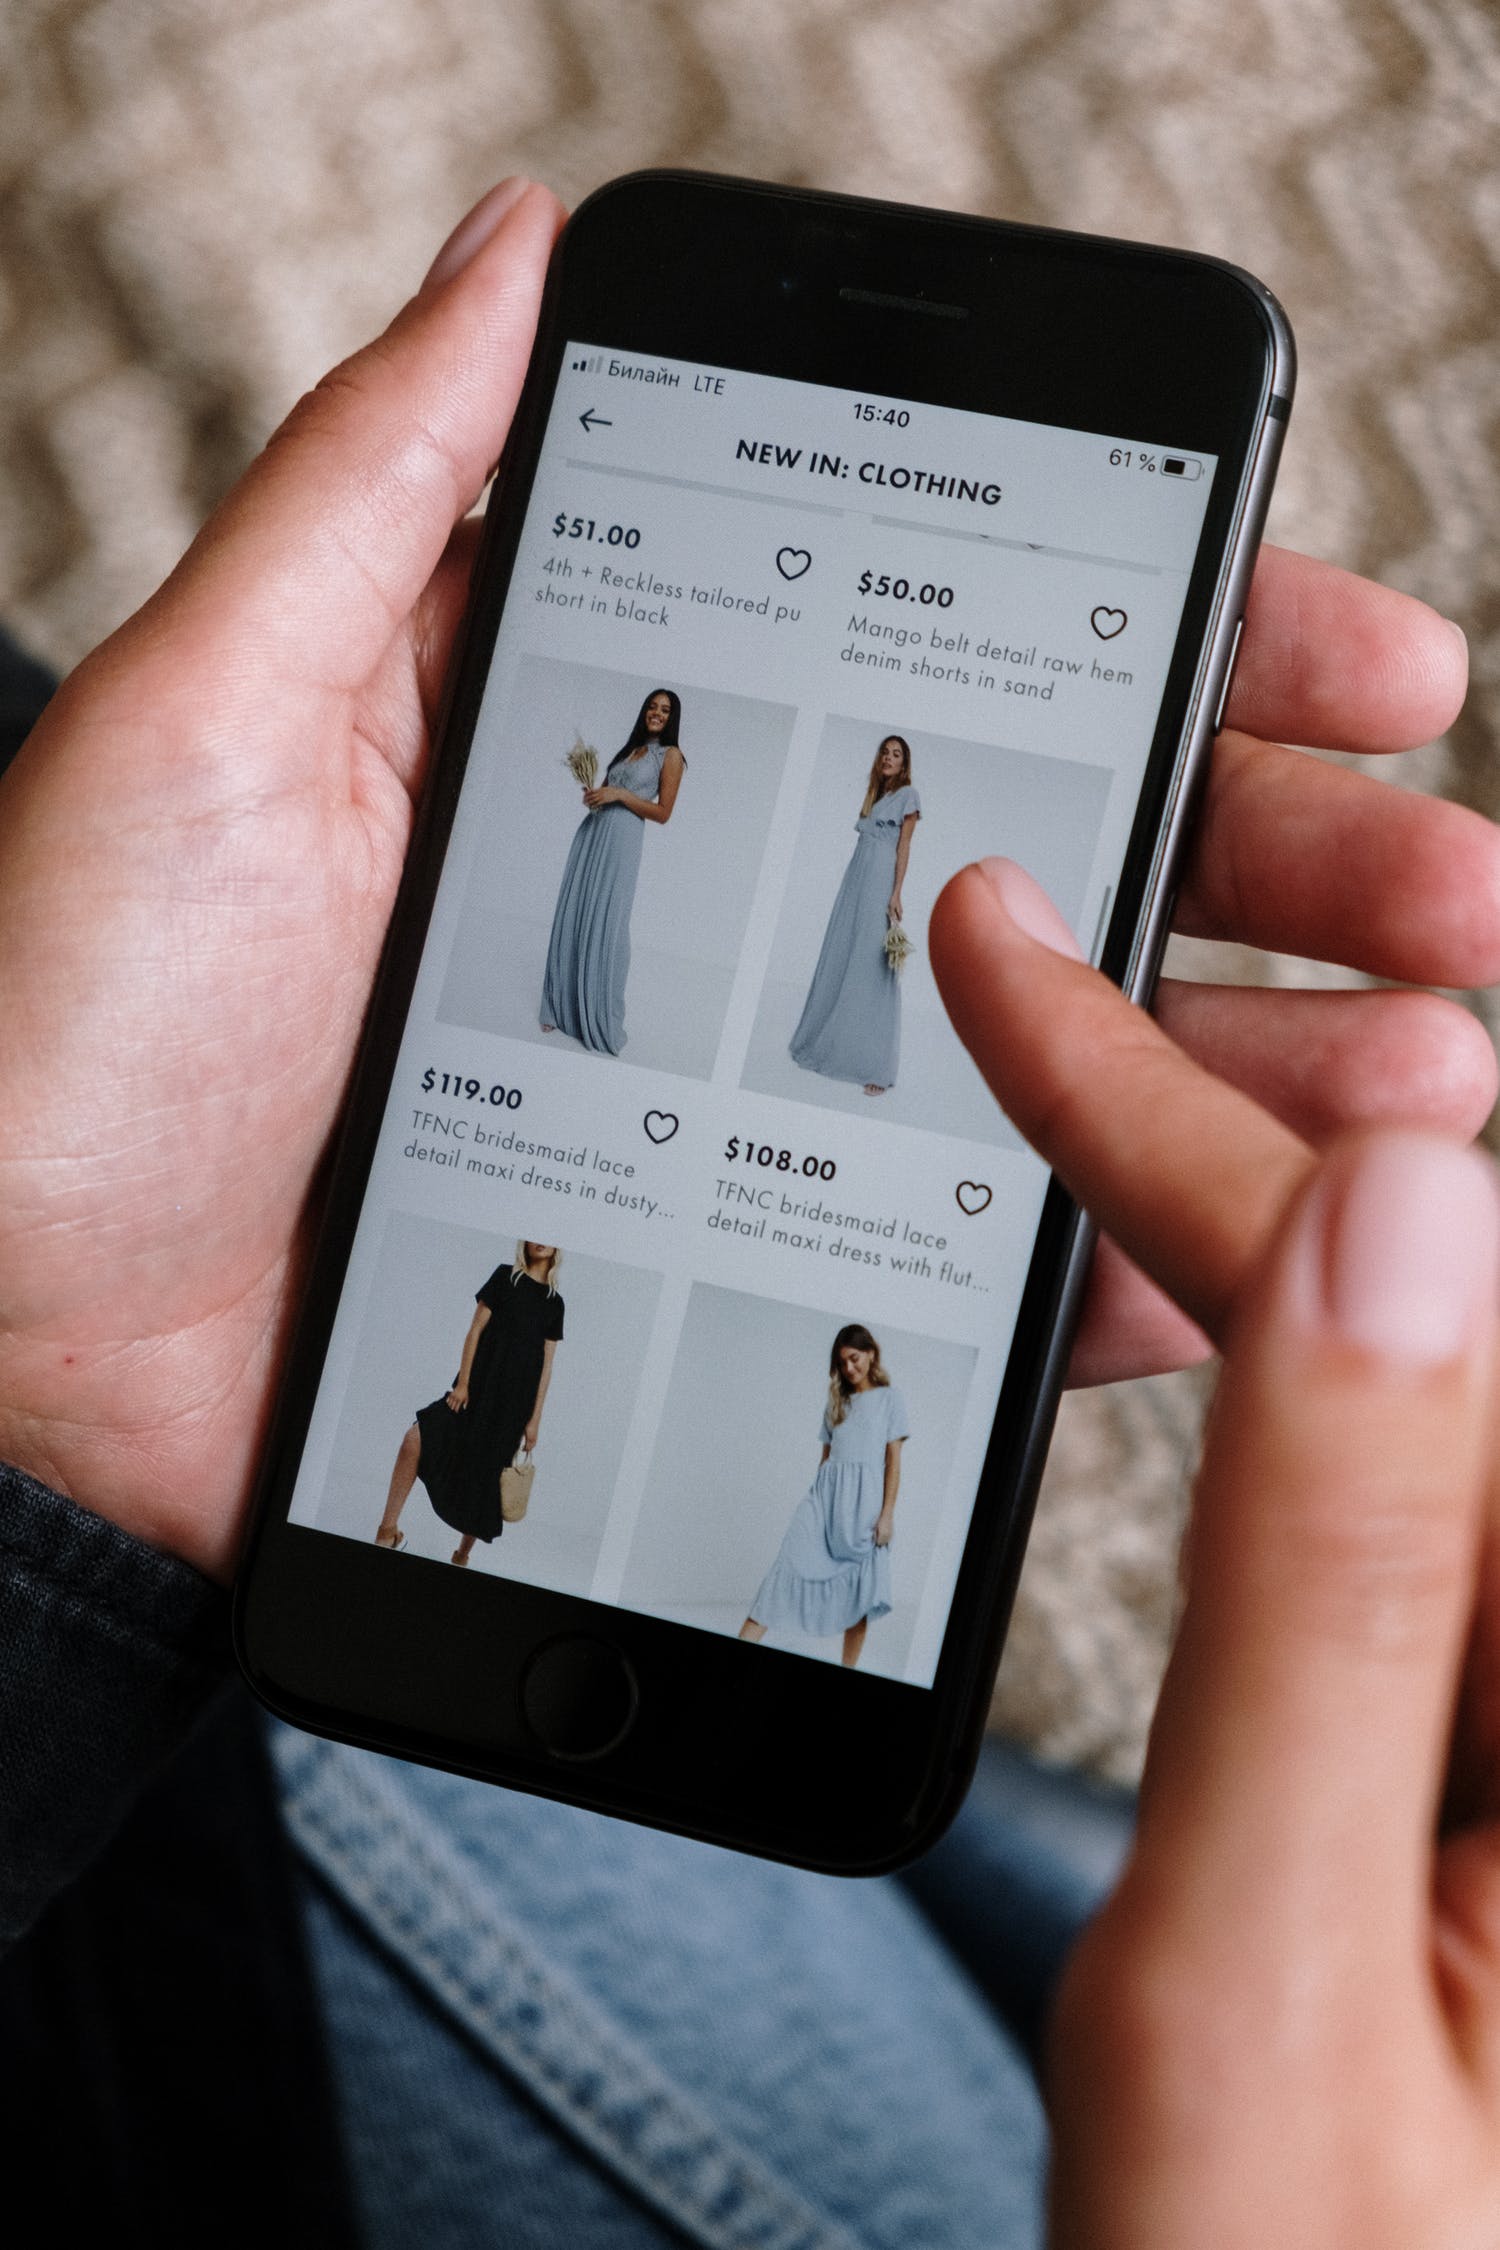
This feature fosters e-commerce on Instagram. Businesses and marketers can create a shareable catalog of products right on Instagram, enabling customers to learn more about your products on the app.
Users can either purchase on the app by proceeding to the checkout or clicking through to the business site to complete the transaction.
An Insta shop lets you integrate your product catalog with your Instagram profile. Consider it a landing page on a social network, enabling customers and prospective buyers to discover your product or browse your entire inventory.
This streamlines the process of buying and selling—you see, you like, you buy. Simple as ABC.
The product pages feature everything a user might want to know about a product, including:
-
Product name
-
Product images
-
Product description
-
Product price
-
Related products
-
Link to the product webpage
Because of Instagram's algorithmic timeline, the shoppable feature helps users discover products they are more likely to buy, based on their previous engagements and the posts and brands they follow.
By clicking on a suggested product, the users can see another post that showcases the product’s information, other products from the seller, and how to purchase.
How to set up an Instagram Shop
Instagram shopping is easy to set up, and here's the step-by-step guide:
-
Change to a business account
-
Check your eligibility
-
Connect to a Facebook page
-
Upload your inventory or product catalog
-
Wait for an account review
-
Start shopping
Step 1: Change to a business account

The very first thing to do. This feature only works with business or creator accounts. So if you don’t have one, you have to switch right now.
Once this is done, you can add relevant business information such as opening and closing hours, your business/creator address, number, email, or a link to your site.
Step 2: Check your eligibility
Sadly, not all countries are eligible to participate. Before you can set up an Instagram shop, you have to check if it’s available in your location.
Other requirements your business needs to meet are as follows:
-
Your business must meet the merchant’s agreement and commerce policies of the platform
-
Products must be eligible and legal where you operate
-
Your business must have a website where people can buy from
Step 3: Connect to a Facebook page

You also need a Facebook page. Once linked, Instagram pulls up your product’s information from your Facebook page to create your Instagram shop.
So if you don’t have an FB page, you’ll have to set up one before moving further.
Once done, the process of linking the two social networks is easy, as shown in the guide below:
-
Go to Edit profile on Instagram
-
Select Page under Public Business Information
-
Click on Connect Facebook page
And that's all done. (Yeah, it's that easy!)
Step 4: Upload your product catalog
The next step is to upload your inventory—a list of all your products, their descriptions, prices, etc.
If you already have a Facebook shop (not the same as a Facebook page), you can sync your catalog automatically.
-
Just go to your Facebook business page and click on the Commerce Manager option
-
Click on Get started and select Create a Catalog
-
Select E-commerce/products
-
Choose Upload product info
-
Assign this catalog to your account
-
Choose a name for the catalog
-
Then click Create
Besides that, you can use an e-commerce platform like Shopify to integrate a pre-existing product database.
Step 5: Wait for an account review
Once you’ve done all of the above, your account needs to be submitted for review. To do this;
-
Go to your profile settings
-
Click on the Sign up for Instagram shopping option
-
Follow the prompted steps to submit your account
-
Check the status of your application by visiting Shopping in the settings
Now, just sit back for a couple of business days for your request to be approved.
Step 6: Start Shopping
You can connect your product catalog to your Instagram shop after your account has been approved.
-
Go to your profile settings
-
Click Business, then Shopping (if you’ve not been approved, you won’t see this option)
-
Choose the product catalog you want to be connected
-
Click on Done and you’re good to go
Now, you can start selling on Instagram, just by tagging products in your posts.
After tapping where the tag will be, input the name of the product(s) you’re tagging (make sure it corresponds with the name on your product catalog). Select the product and then click Done. You can now share your post to your feeds.
Kudos to this journey you’re embarking on. Happy selling!
(If your account gets disapproved, though, you have to take a step back to make sure you checked every box on the list.
Once approved, check this article on what to avoid when selling on Instagram.)
